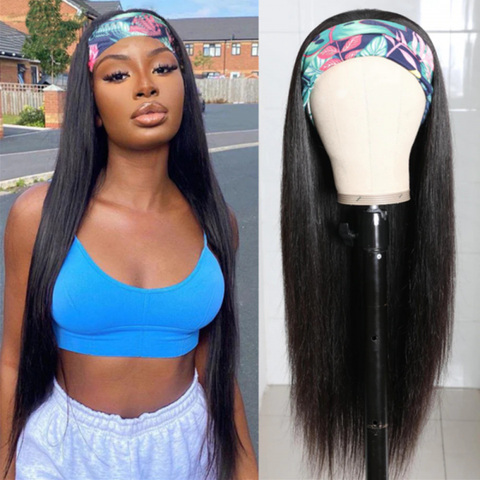
How to Installed The Headband Wig
Headband wigs are the best wigs to install because you don't need to do it with your stylist. This is a easier beginner's wig that you can install in a few minutes without any help. This is a DIY hair extension installation for headband wig.

Comb the headband wig
Brush any knots or tangles on the wig with a comb or brush. For curly headband wig, use a wide-toothed comb; For thinner wigs, use a smaller comb.
Prepare your natural hair
Weave it into the cornice, wear a wig cap, or wrap it in the back. Make it as flat as possible. If you want to style your front hair, bring out all of the natural hair that you plan to style and push it out in front of your ears.
Secure the wig
Place the wig at the back of your head, fasten the clips that come with your wig in the back and front, and secure them tightly. Adjust your position until you feel comfortable.
Adjust the wig
Wrap the hair with a clip, adjust and clamp the straps on the back to fit your head, then let the hair down.
Styling your wigs
you can style the hair into a ponytail, messy bun or use flat iron to straighten the hair. Place any colored headband you choose on the black headband, or even continuing to use the original headband. There is no limit to the styling options for this wig.
